odoenet
blog
podcast
made
uses
ArcGIS Custom UI
Aug 18, 2023
Geometry Engine Line Intersects
May 13, 2023
Build an app with ArcGIS and create-t3-app
Mar 15, 2023
Intro to WebMercatorUtils
Nov 2, 2022
Draggable ScaleBar in ArcGIS API for JavaScript
Oct 12, 2022
Use TypeScript Typings with AMD for CDN
Sep 26, 2022
Intro to Binning with ArcGIS JavaScript
Sep 9, 2022
Intro to Calcite with Svelte
Aug 2, 2022
My Secret ArcGIS Identity
Jul 29, 2022
Return of the hitTest
Jul 18, 2022
View Padding in ArcGIS JSAPI
Jun 21, 2022
Web Speech API with ArcGIS RouteLayer
Jun 13, 2022
ArcGIS Popups CustomContent
Jun 1, 2022
Intro to reactiveUtils
May 23, 2022
SolidJS with the ArcGIS JSAPI
May 17, 2022
Popups with React Portals
Apr 6, 2022
Unit Testing with JSAPI
Feb 22, 2022
Using Calcite Components
Feb 12, 2022
Smart Mapping tools
Jan 28, 2022
Create Popup Template
Jan 10, 2022
Filter GeoJSON in your ArcGIS Apps
Nov 26, 2021
Intro to ViteJS
Sep 7, 2021
Vue, ArcGIS JSAPI, Calcite
Aug 6, 2021
ArcGIS JSAPI Build Tips
Aug 2, 2021
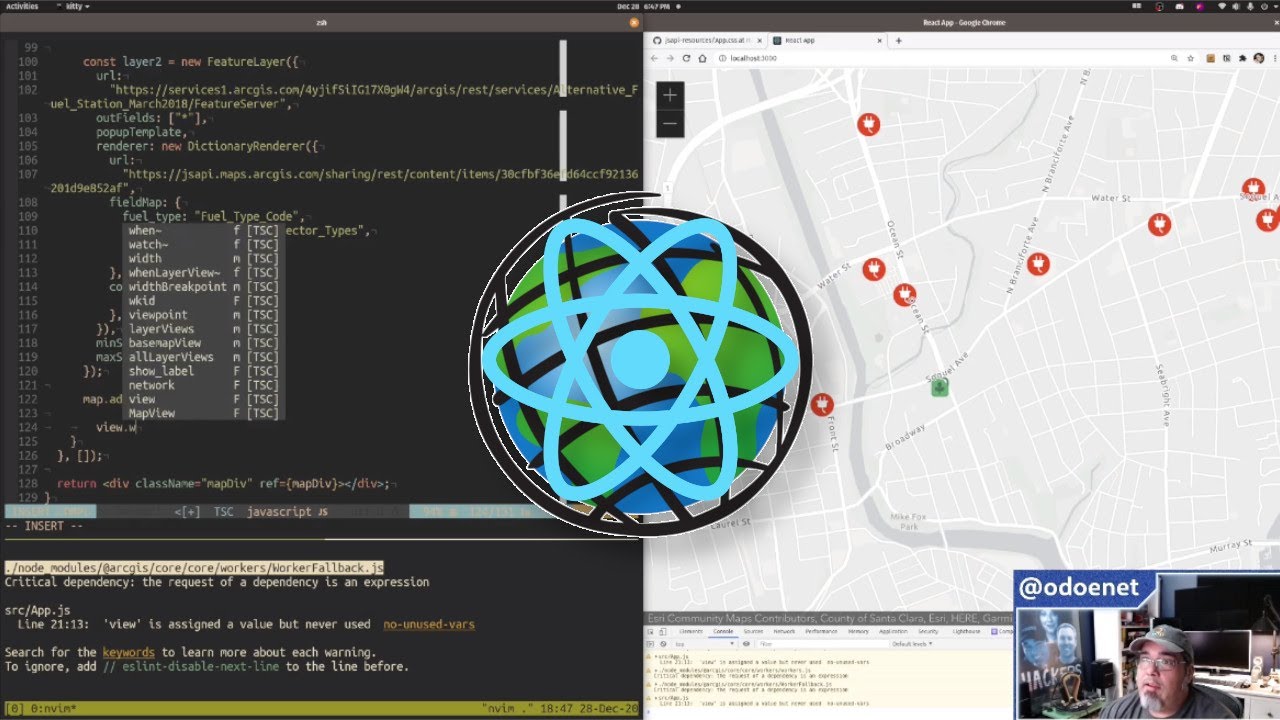
Custom workers in ArcGIS JSAPI
Jul 1, 2021
Chainlink and ArcGIS
Jun 1, 2021
Spatial Joins
May 24, 2021
Intro to Blockchain with ArcGIS JSAPI
May 3, 2021
Label Features
Apr 26, 2021
FeatureTable Clones
Apr 13, 2021
CIMbology
Apr 1, 2021
DIY Edit Sessions
Mar 24, 2021
Highlighting Features
Mar 16, 2021
Vite with ArcGIS
Mar 2, 2021
Stop what you're doing
Feb 24, 2021
Who watches the WatchUtils
Feb 22, 2021
Fun with Search
Feb 19, 2021
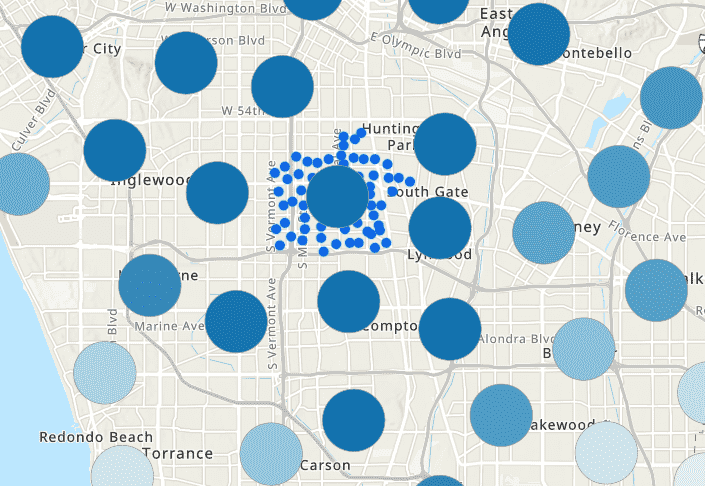
Clustering in ArcGIS JSAPI
Feb 17, 2021
ArcGIS API Keys for JSAPI
Feb 12, 2021
ArcGIS JSAPI ESM CDN
Feb 8, 2021
Snowpack with the ArcGIS JSAPI
Feb 1, 2021
Layer Effects in ArcGIS
Jan 25, 2021
Compile TypeScript with Babel
Jan 20, 2021
Using Node with ArcGIS JSAPI
Jan 18, 2021
Module Federation in webpack
Jan 15, 2021
Sketch and Query
Jan 13, 2021
ArcGIS ESM with create-react-app
Jan 11, 2021
Dojo Toolkit was Awesome
Jan 8, 2021
Using ES Modules with the ArcGIS JSAPI
Jan 5, 2021
Type Your HashMaps with TypeScript
Dec 31, 2020
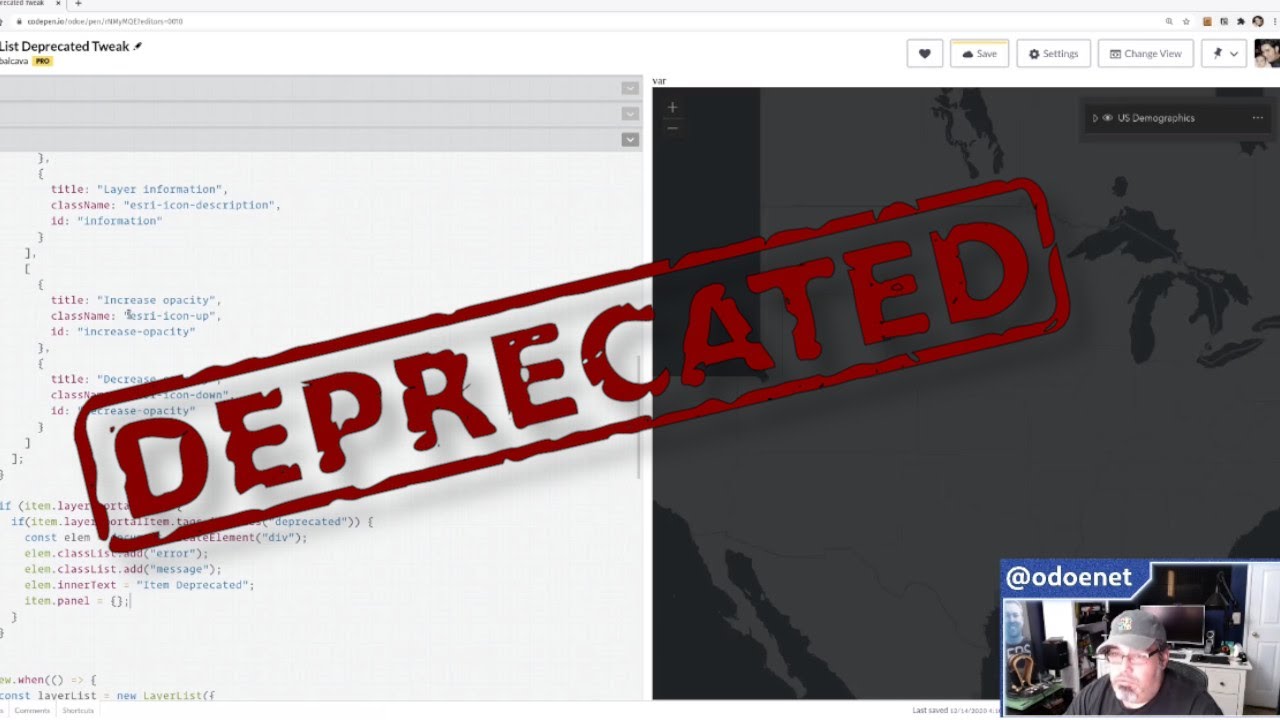
Identify Deprecated Items with ArcGIS JSAPI
Dec 30, 2020
New Site, Who Dis?
Dec 29, 2020
When are layers done?
Feb 19, 2020
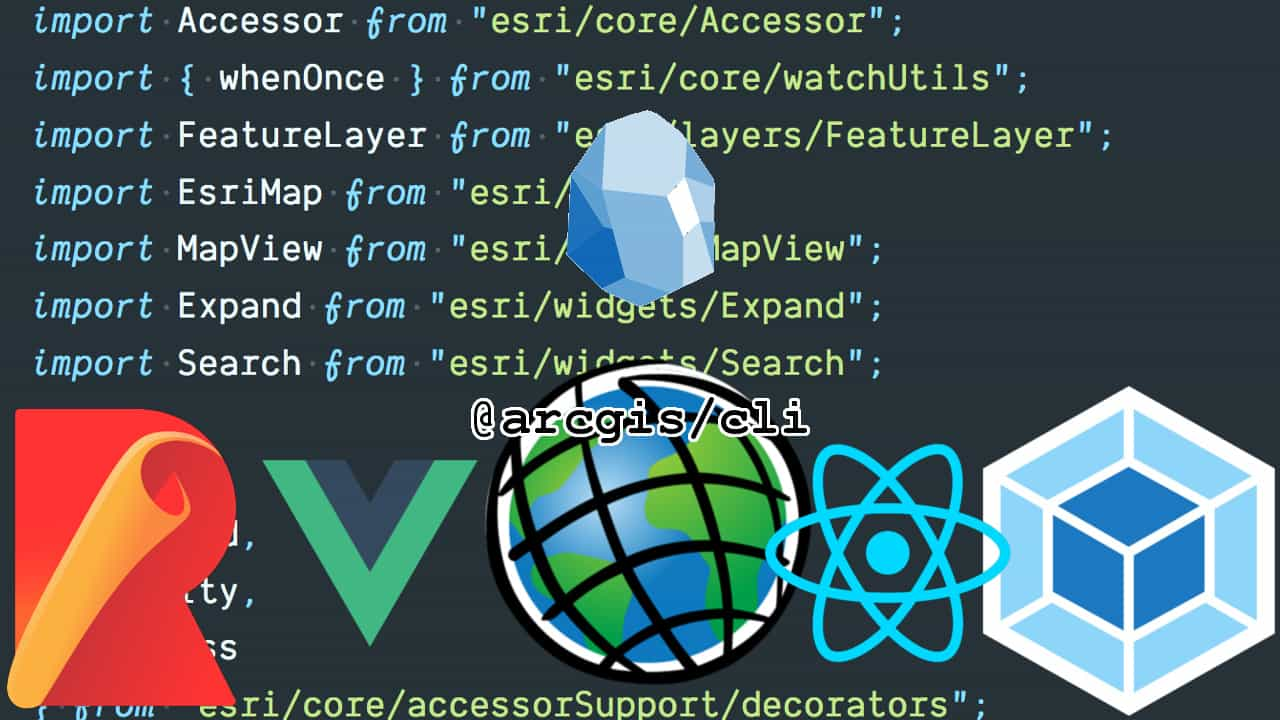
New ArcGIS CLI Template Apps
Jan 10, 2020
Edit GeoJSON with the ArcGIS API for JavaScript
Nov 14, 2019
ArcGIS JS API with TypeScript and Babel
Aug 29, 2019
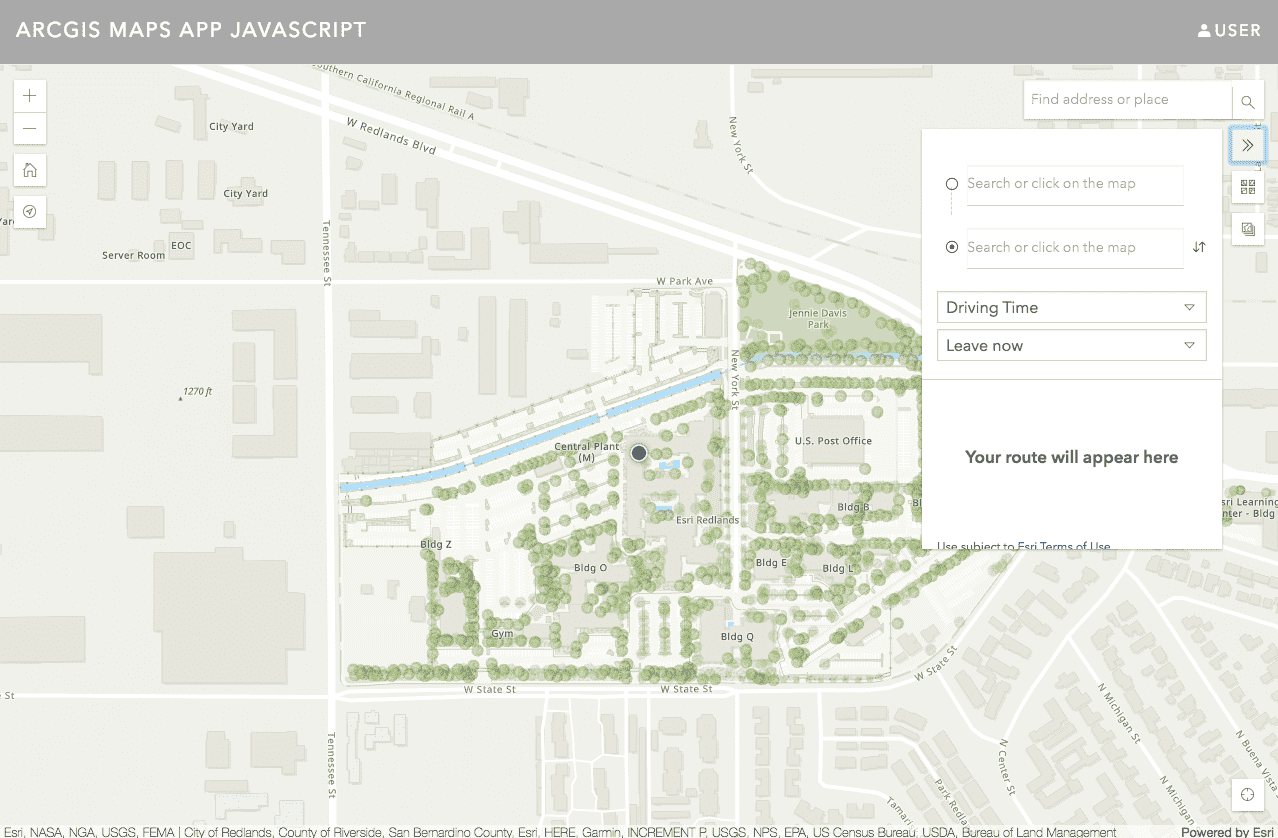
ArcGIS for Web Developers: Geocoding
Jul 30, 2019
ArcGIS for Web Developers: Part 1
Jul 8, 2019
Svelte with the ArcGIS API for JavaScript
May 3, 2019
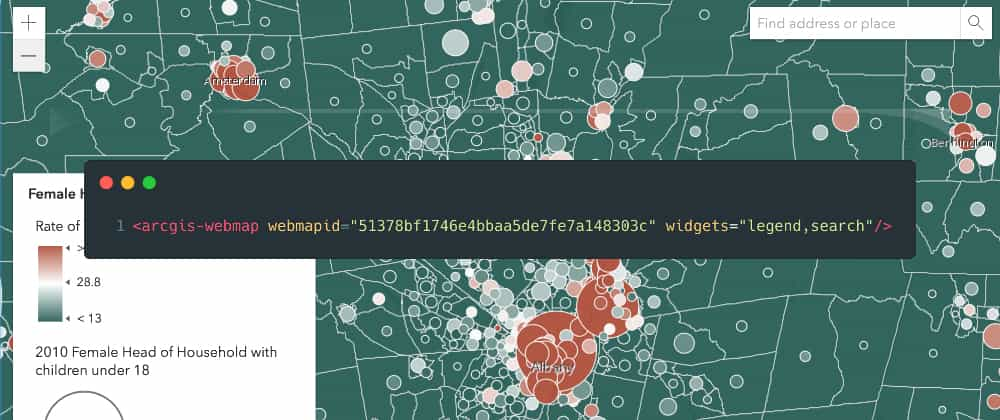
Mapping with Web Components
Apr 19, 2019
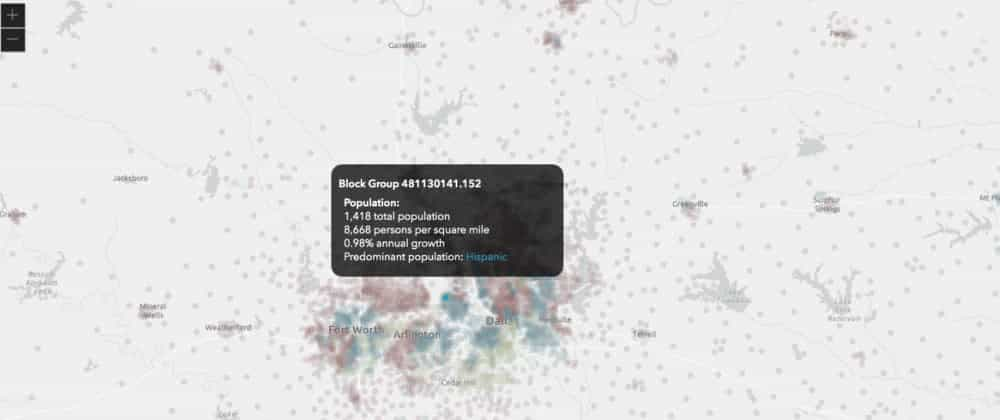
Interactive Apps with the ArcGIS API for JavaScript
Apr 4, 2019
Dojo Framework with ArcGIS API for JavaScript
Mar 20, 2019
View Models in the ArcGIS API for JavaScript
Feb 10, 2019
Client Side Fun with ArcGIS API for JavaScript
Dec 17, 2018
Feature Widget Fun
Sep 10, 2018
Hit me baby one more time!
Aug 22, 2018
Custom bookmarks in your ArcGIS JS API apps
Jul 24, 2018
Post EsriUC 2018 Wrap Up
Jul 18, 2018
Build apps with the @arcgis/cli
Jun 28, 2018
Put ArcGIS JS API into your webpack
May 23, 2018
TypeScript Conf - The Aftermath
Mar 19, 2018
It's that time of year!
Mar 1, 2018
Quick Tip - Move a Graphic
Feb 2, 2018
Save your Viewpoint for another day!
Jan 17, 2018
2018 Goals: Doing my thing
Dec 27, 2017
I wrote another book
Dec 14, 2017
Add some action to your Map apps!
Dec 7, 2017
Animate a drawer in ArcGIS JSAPI 4
Nov 27, 2017
Interactive Clusters with ArcGIS API for JavaScript
Nov 6, 2017
Hello Intern 4
Oct 17, 2017
Dojo 2 and Web Components
Sep 28, 2017
What's happening
Sep 7, 2017
Popups, UI, and HAX!
Aug 24, 2017
Yet another application ArcGIS JSAPI starter kit
Aug 10, 2017
Youtube Madness Month
Aug 3, 2017
How to void your ArcGIS API for JavaScript Warranty!
Jul 18, 2017
Esri UC 2017
Jul 10, 2017
Code coverage in your apps
Jun 27, 2017
Quick intro to esri-loader
Jun 15, 2017
Quick Tip: ArcGIS API 4 for JS - When stuff is ready?
Jun 6, 2017
Web Workers in ArcGIS API for JavaScript
May 24, 2017
How to be a geodev
May 4, 2017
Electron with ArcGIS API for JavaScript
Apr 27, 2017
Using NPM with the ArcGIS API for JavaScript
Apr 19, 2017
A look at Dojo 2
Apr 5, 2017
EmberConf 2017
Mar 29, 2017
Using Elm with ArcGIS API for JavaScript
Mar 15, 2017
For Developers, By Developers.
Mar 2, 2017
ArcGIS API 4 for JS with vue-cli and Nuxt
Feb 22, 2017
DevSummit Season 2017
Feb 8, 2017
TypeScript Typings for JavaScript
Feb 1, 2017
Quick Tip - Clone in ArcGIS JSAPI
Jan 19, 2017
Customize Your ArcGIS Online Org Page
Jan 12, 2017
Custom Widgets in the ArcGIS API for JavaScript
Jan 5, 2017
2017 Goals: Hope Is Not a Strategy
Dec 28, 2016
ArcGIS JSAPI Accessor and Widgets!
Dec 23, 2016
Hello Arcade
Dec 16, 2016
Esri European DevSummit 2016
Dec 7, 2016
I'm going to Berlin
Dec 2, 2016
Intro to ArcGIS API 4 for JavaScript Sale!
Nov 24, 2016
Quick Tip - Accessor in ArcGIS API for JavaScript
Nov 15, 2016
Quick Tip - MapImageLayer in ArcGIS API for JavaScript
Nov 9, 2016
Excerpt from Intro to ArcGIS API for JavaScript 4
Nov 2, 2016
TypeScript in Visual Studio Code
Oct 25, 2016
Using VueJS with ArcGIS API for JavaScript
Oct 18, 2016
Intro to Dojo2 with ArcGIS API for JavaScript
Oct 11, 2016
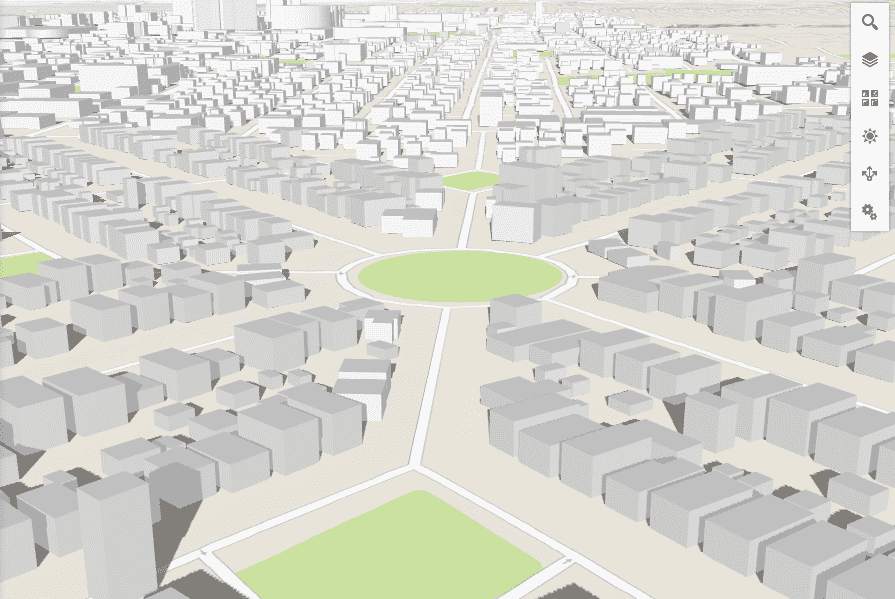
Intro to ArcGIS SceneViewer
Oct 4, 2016
ArcGIS API for JavaScript 4.1 and 3.18
Sep 27, 2016
Using the ArcGIS REST Query Page
Sep 19, 2016
Routing in ArcGIS Online
Sep 13, 2016
Visual Variables in ArcGIS API 4 for JavaScript
Sep 6, 2016
Aggregate Data in ArcGIS Online
Aug 30, 2016
Uploading and Enriching Data in ArcGIS Online
Aug 23, 2016
Adding OAuth to your ArcGIS JS Apps
Aug 15, 2016
Setting up a Free ArcGIS Developers Account
Aug 8, 2016
Communicating with Embedded Map Apps
Aug 1, 2016
Geometry Tips for Intersections
Jul 26, 2016
Using Intern with ArcGIS API for JavaScript
Jul 18, 2016
Updated Yeoman Generator for ArcGIS JS Apps
Jul 12, 2016
My week at EsriUC 2016
Jul 4, 2016
Time based Smart Mapping in ArcGIS Online
Jun 27, 2016
Updated ArcGIS Online Item Details Page
Jun 20, 2016
Deep dive into ArcGIS API for JavaScript SDK
Jun 13, 2016
Using non-basemap Vector Tiles
Jun 6, 2016
Using FeatureCollection with EsriJS 4
May 30, 2016
Quick Tip: Widgets in EsriJS 4 UI
May 23, 2016
Using TypeScript with EsriJS 4
May 16, 2016
DIY Redux using EsriJS 4
May 9, 2016
ArcGIS JSAPI 4.0 Resources
May 3, 2016
Quick Preview of ArcGIS API for JavaScript 4
Apr 25, 2016
Let's get Charty!
Apr 18, 2016
Fun with GeometryEngine
Apr 12, 2016
Reflecting on Ember Conf 2016
Apr 4, 2016
Quick tip - Build React into your Dojo apps
Mar 28, 2016
Custom ArcGIS Vector Tile Styles
Mar 21, 2016
DevSummit 2016: Recap
Mar 14, 2016
DevSummit 2016 Day 1
Mar 9, 2016
Road to DevSummit
Mar 1, 2016
Update on Ember with ArcGIS JS API
Feb 22, 2016
WebMaps for Developers
Feb 15, 2016
Using EsriJS Collection as a Store
Feb 8, 2016
Quick Tip: Interact with your Graphics
Feb 1, 2016
Quick tip: dojo/aspect to dig in
Jan 25, 2016
ArcGIS API 4.0 Overview
Jan 18, 2016
CycleJS with ArcGIS JS API
Jan 11, 2016
Angular 2 with ArcGIS JS API
Jan 4, 2016
2016 Goals: More Cowbell
Dec 28, 2015
View Models in ArcGIS JS API
Dec 21, 2015
DIY KML in ArcGIS JS API 4 Beta
Dec 15, 2015
TypeScript, Elm and ArcGIS API for JavaScript
Dec 7, 2015
Vector Tiles in ArcGIS JS API
Nov 30, 2015
ArcGIS API for JavaScript 4.0 Beta2
Nov 23, 2015
Using Bower to build ArcGIS API for JavaScript Apps
Nov 16, 2015
Simple What3Words Widget in ArcGIS API for JavaScript
Nov 9, 2015
Using dstore in EsriJS
Nov 2, 2015
Using Yeoman ArcGIS JS App Generator
Oct 26, 2015
Quick Tip - Collections in EsriJS Beta 4
Oct 19, 2015
Drawing all the things in ArcGIS API JS Beta
Oct 12, 2015
Quick Tip - Map Freeze
Oct 5, 2015
GeoJSON in ArcGIS Online
Sep 28, 2015
ArcGIS Online for Developers
Sep 21, 2015
Polymer with ArcGIS API for JavaScript
Sep 14, 2015
Development Tools for ArcGIS API for JavaScript
Sep 7, 2015
LayerView in ArcGIS JS API 4.0beta1
Aug 31, 2015
Quick Tip - Tools for ArcGIS JSAPI 4.0beta1
Aug 24, 2015
I'm learning TypeScript
Aug 17, 2015
Quick Tip - fromJSON() in ArcGIS JS API
Aug 10, 2015
ArcGIS JavaScript Promises
Aug 3, 2015
Maps and Views in ArcGIS JS API
Jul 27, 2015
Fun with Accessors in ArcGIS JS 4.0beta1
Jul 20, 2015
ArcGIS JS API 4.0 beta1 Accessors
Jul 17, 2015
Esri-leaflet 1.0 is out
Jul 14, 2015
Five things I learned writing an Ember-cli addon
Jul 6, 2015
Ember with ArcGIS API for JavaScript
Jun 29, 2015
Quick tip: dstore with ArcGIS API for JavaScript
Jun 22, 2015
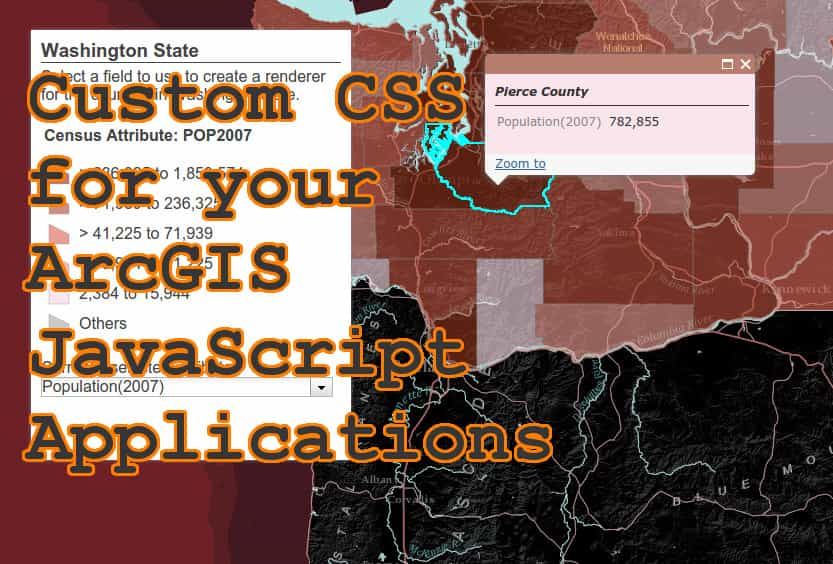
Custom CSS for ArcGIS API for JavaScript Apps
Jun 15, 2015
Smart Mapping for Devs
Jun 8, 2015
Use ES2015 with ArcGIS API for JavaScript
Jun 1, 2015
Quick Tip: Fun with Electron
May 25, 2015
Using RxJS with the ArcGIS API for JavaScript
May 18, 2015
Modular ArcGIS JavaScript apps
May 11, 2015
Trying to learn TypeScript
May 4, 2015
I'm going to Esri
Apr 27, 2015
Learning Mayhem
Apr 20, 2015
Fun with EsriJS Geometry Engine
Apr 13, 2015
Dojo Flux (lite)
Apr 6, 2015
EsriJS with Ramda
Mar 30, 2015
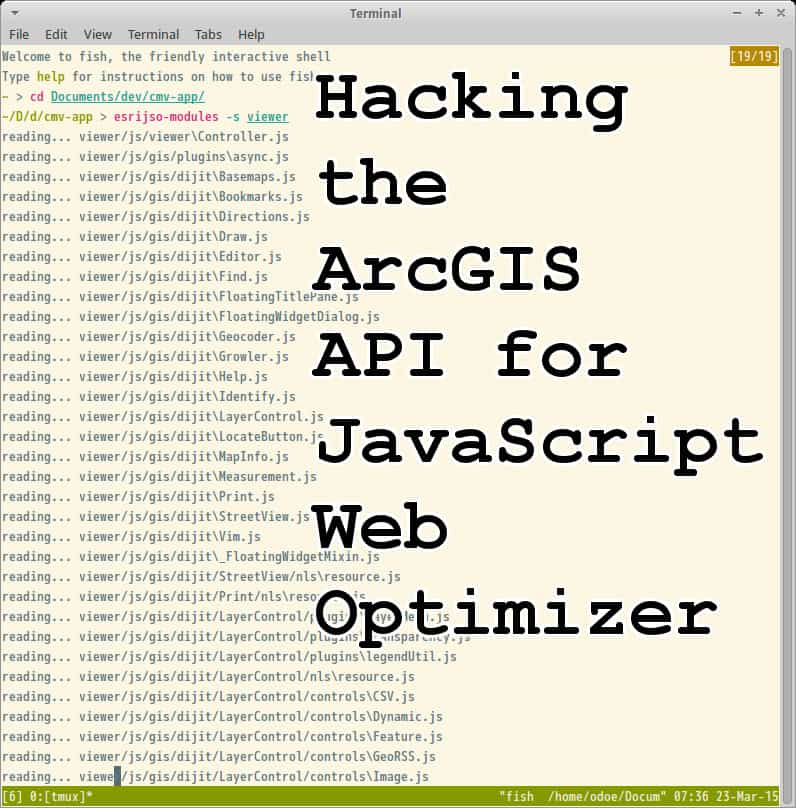
Hacking the ArcGIS API for JavaScript Web Optimizer
Mar 23, 2015
Esri Dev Summit 2015: Aftermath
Mar 16, 2015
Esri Developer Summit 2015: Day 3
Mar 13, 2015
Esri Developer Summit 2015: Last Day
Mar 13, 2015
Esri Developer Summit 2015: Day 2
Mar 12, 2015
Esri Developer Summit 2015: Day 1
Mar 11, 2015
Esri Developer Summit 2015: Day 0.5
Mar 9, 2015
Quick Tip - Simple Edits for ArcGIS API for JavaScript
Mar 2, 2015
CartoDB with ArcGIS API for JavaScript
Feb 23, 2015
Video - Intro to custom ArcGIS API for JavaScript widgets
Feb 20, 2015
Exploring new Turf
Feb 16, 2015
EsriJS with ReactJS
Feb 9, 2015
dbind in your ArcGIS JS apps
Feb 2, 2015
Getting your Dojo on
Jan 26, 2015
Custom Leaflet Control
Jan 19, 2015
Clojurescript with Leaflet
Jan 12, 2015
PureScript with Leaflet Experiments
Jan 5, 2015
Review: Soft Skills
Dec 31, 2014
2015 Goals: Getting Real
Dec 29, 2014
Taking it offline
Dec 22, 2014
Using xstyle with ArcGIS API for JavaScript
Dec 15, 2014
GIS Analyst to GIS Developer
Dec 8, 2014
Dojo Bootstrap with ArcGIS JavaScript API
Dec 1, 2014
dojo router for your Esri JavaScript Maps
Nov 24, 2014
GIS Day 2014 - Learn some geo
Nov 19, 2014
10 Things I learned writing ArcGIS Web Dev
Nov 12, 2014
Leaflet.Control, transducers and es6
Sep 29, 2014
Some fun with Esri JS API and RxJS
Aug 13, 2014
Quick Tip: Save last location on map reload
Jun 3, 2014
Esri ClusterFeatureLayer
Feb 11, 2014
2014 Goals. Growth and Challenges
Dec 31, 2013
Modularized ArcGIS JS, overboard.
Dec 19, 2013
Get ArcGIS Web Development Half Off
Dec 16, 2013
RequireJS for single-file builds: revisited.
Dec 16, 2013
ArcGIS Web Development
Sep 11, 2013
Using AngularJS with ArcGIS API for JavaScript
Jul 10, 2013
Quick Tip: ArcGIS JavaScript Dynamic InfoTemplate
Jun 19, 2013
Node for your ArcGIS Dev
Mar 6, 2013
2013 Goals: No Idle Hands
Dec 17, 2012
Embrace Your Modules
Dec 4, 2012
Drag and Drop Editing, Because We Can.
Oct 3, 2012
Quick Tip: r.js to build your ArcGIS JS Applications
Sep 11, 2012
Quick Tip: CSS Filters and your ESRI Tiles
Jul 10, 2012
ArcGIS JavaScript API 3.0, Dojo 1.7 and AMD Modules
Jun 14, 2012
CoffeeScript, Visual Studio and Sublime Text 2
Jun 7, 2012
Quick tip: Loading ArcGIS JavaScript API with Require.js
May 30, 2012
Getting modular with the ArcGIS JavaScript API
Mar 17, 2012
Simplify dev (for the ArcGIS developer): Part 2
Feb 29, 2012
Simplify dev (for the ArcGIS developer): Part 1
Feb 22, 2012
2012 Developer Resolutions: Melting faces!
Dec 29, 2011
ESRI-JSON to GeoJSON, with Node.js
Nov 23, 2011
Node.js native extension with a hammer and a prayer
Oct 20, 2011
Day in the life of a GIS Analyst (Developer)
Oct 14, 2011
Knockout.js and why Flex devs should try it.
Jun 23, 2011
Simple ArcObjects Tip for Joining Tables
May 18, 2011
NativeMappedSignal (map that shit!)
Jan 27, 2011
O'Reilly Wish List (or, I like free books)
Jan 27, 2011
2011, Where do I go from here?
Jan 4, 2011
JSON features and ESRI Javascript API (noob adventures)
Sep 30, 2010
Drag and Drop Services to Map
Sep 14, 2010
Map Legend and Layer Control for ESRI Flex API 2.0
Sep 3, 2010
FlexMapTools and git issues
Aug 10, 2010
Review: TDD Screencasts
Jul 24, 2010
F'ing with FMap in FlexMapTools
Jul 10, 2010
FlexMapTools for ESRI Flex API
Jul 8, 2010
Custom GeocodeProcessor with Swiz
Mar 31, 2010
AS3-Signals in Swiz, keepin' it simple
Feb 19, 2010
Swignalz!
Feb 9, 2010
Look ma, no wires!
Jan 22, 2010
Learning to program
Jan 18, 2010
ESRI Flex Map with Robotlegs
Dec 12, 2009
Highlight Map from List Items
Dec 9, 2009
ESRI Flex Application using Presentation Model Pattern with Swiz
Nov 4, 2009
Swiz and the ESRI API, we meet again.
Oct 24, 2009
Mapping apps with Flex, Swiz and Fluint
Oct 19, 2009